
Software Tutorials
Free SMS Software
Premium SMS Software
SMS Via Mobile Software
Bulk E-MAIL Software
Get start with Email
1. Add New Account by Clicking New
Account Button
![]()
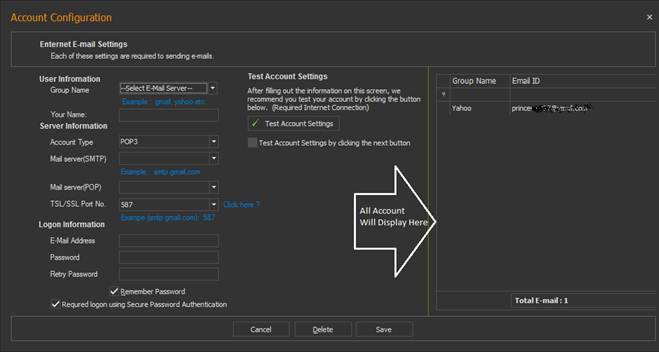
Group Name - Select Group name Like Yahoo, Gmail and GMX.
You’re Name - It’s Only for Remember.
Server Information – The server information will automatically fill.
Do not make any changes if you are not good on.
Login Information –Login Information Containing your valid email
id or password.
After fill all necessary information you just need to Check Account by click
on Test Account Settings button
If your email id is working and correct, then you
will notify successfully message.
All the account you will add display in right side panel, After Successfully
adding account you can also Search, Edit and Delete your account.
Now the software is ready to Send E-mail.
2. Sending First E-mail
Compose Messages – Click over Compose
Messages button to Get Start Sending Emails.
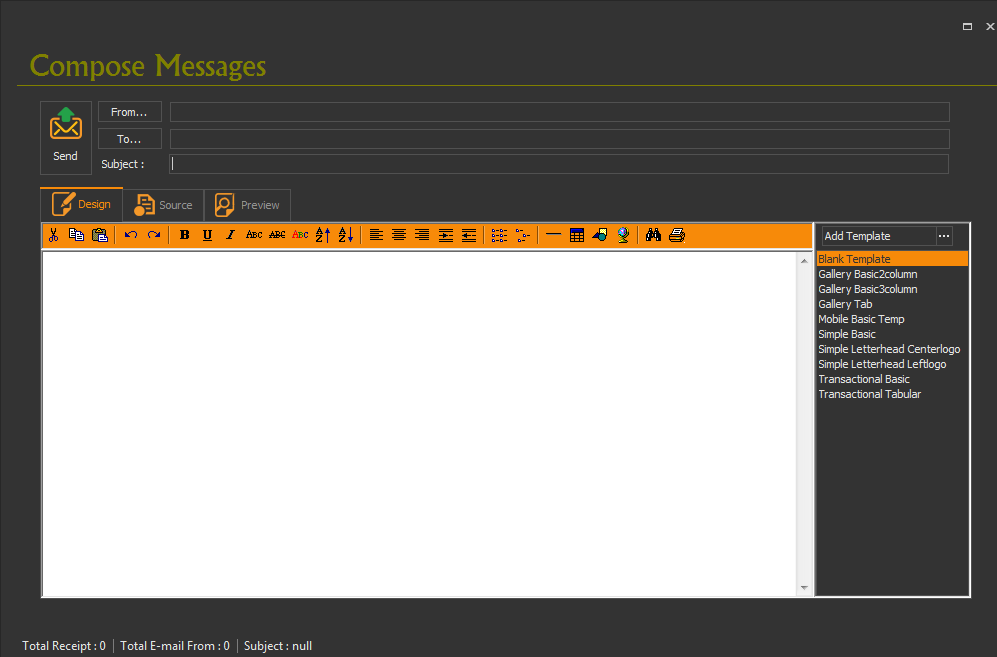
From – Click on From button then
select the email id to send emails

To - You Can Easily Add Contact. Also You Can Import Contact from Text File, Excel
File and Contact Book.
(See Import Contact Section)
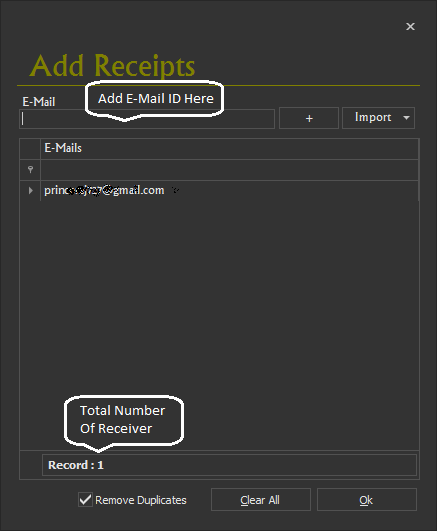
If Remove duplicate is selected than Duplicate ID like Twice Same ID
Removed Automatically.
Clear All Button Clear Lists.
Compose Message.
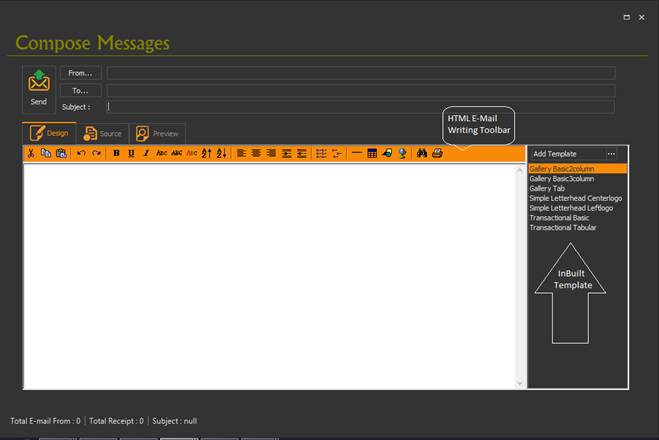
HTML E-Mail Write - One Important Feature Of Our Software is HTML
E-Writing. You Can Easily use HTML Template, add Template, Save Template, And
Edit Template.
Plus HTML Email Writing Toolbar Allow You To Build HTML Email IF You Not
Well Know HTML.
(If You Want To Know about HTML Email Writing see www.youtube.com/..........
Select From, Send. Write Subject, Message And Just Click On Send.
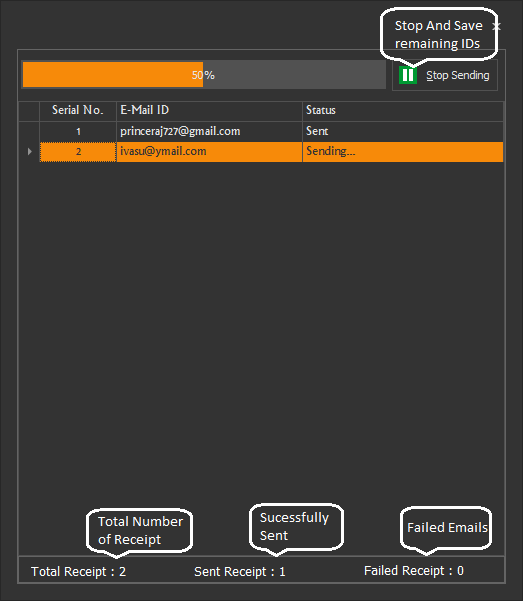
Amazing Dialog That Display All Information like Process, Total Number of
Receipt, Sent Emails, and Failed Email.
Stop Sending Stop Process and Save remain Contact in Textile.
If Any Email Failed (if server Problem, Fake id) You Can Retry to Send.
3. Contact Book.
Select Contact Book From Top Menu.
![]()
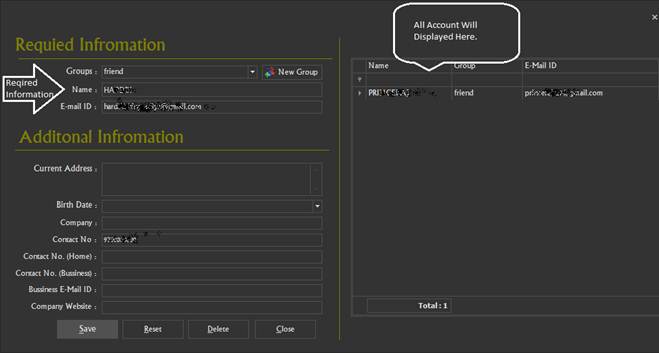
Select Group Write Down Name, ID and Just Click On Save.
If you want to add Additional Information You Can Fill.
After Adding Contact You Can See Right Side. And Also You can easily Edit,
Delete Information Or Contact.
4. Black List
Some Time You Need to Block number For SMS Sending. OR Sometime You
Given Order TO Block some number to avoid Sending Message.
Enter Number in Black List
Simple Select Black List From Top menu
![]()
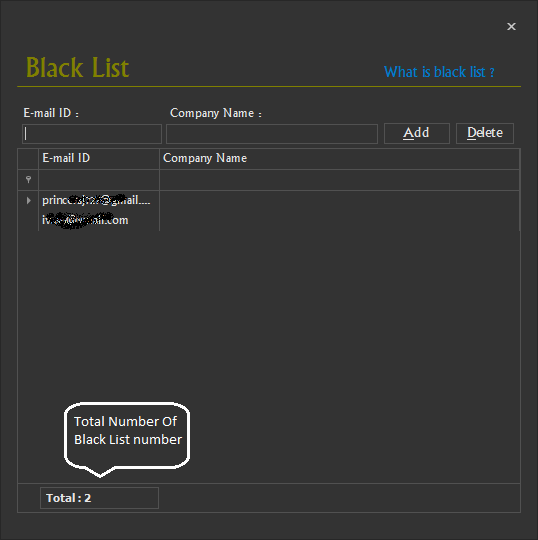
After Adding Black List You Can Easily Delete From Black List Using Delete
Button.
5. History
You Can See History By Group By, By Vendor, By Receipt, By Sender, By
Subject, By Message, By Date-Time.
Also You Can Print or Delete All Or Particular History.

For More Help and Tutorial-